Wrapping Up Quarter Two!

So, clearly it’s been awhile since I’ve posted and I apologize!  My students have been working really hard on skill-builders and W.O.W. projects this quarter and the results are fabulous!  As of now, I have opened the drawing, collage, painting, sculpture, and fibers centers.  Students have really loved the sculpture center, which mostly revolves around paper and found objects/recyclable materials for now.  I love my TAB classroom because all of the artwork is so different and unique, and I can tell my students really put their best effort into it (most of the time 🙂 )  Here are some of the beautiful masterpieces from the studio:

Waterfall

Waterfall

Fifth Grade Student

Watercolor & Tempera Paint

Rainbow Guitar

Colorful Guitar

Fifth Grade Student

Marker and Construction Paper

Spring Time Scottie!

Spring Time Scottie

Fifth Grade Student

Mixed Media

Henry The Penguin 3

Henry The Penguin

Fifth Grade Student

Sculpture

Fall Tree

Fall Tree

Fifth Grade Student

Sculpture

IDEA

IDEA

Fifth Grade Student

Collage/Mixed Media

Carnival Pie

Carnival Pie

Fifth Grade Student

Sculpture

Carnival Ice Cream Cone Winner 1

Carnival Ice Cream Cone Winner

Fifth Grade Student

Sculpture

The Wild Place

The Wild Place

Fourth Grade Student

Tempera Paint

Secret Garden

Secret Garden

Fourth Grade Student

Sculpture

Max 2

Max

Fourth Grade Student

Sculpture

eiffel tower

Eiffel Tower 

Fourth Grade Student

Sculpture

I love that my students get ideas from personal experiences.  Since many of them have traveled while living overseas, they often get inspiration from places they have visited (like the Eiffel Tower!).  Max is a dog that belongs to one of my students, and she had so much fun make him into a sculpture.  While I do not give specific parameters for the W.O.W. projects, many times students feed off of each others’ ideas, coming up with somewhat themed works, like the Carnival Pie and Carnival Ice Cream Cone Winner.  I am looking forward to adding more options to the sculpture and fibers centers, as well as opening the printmaking center.  I am so proud of my kiddos!

Check out some of the finished fundraiser art!

sunny day!

“The Sunny Day”

Bobs pizza place

“Bob’s Pizza Place”

coolgirl14!$!$

“Coolgirl14!$!$”

the web

“The Web”

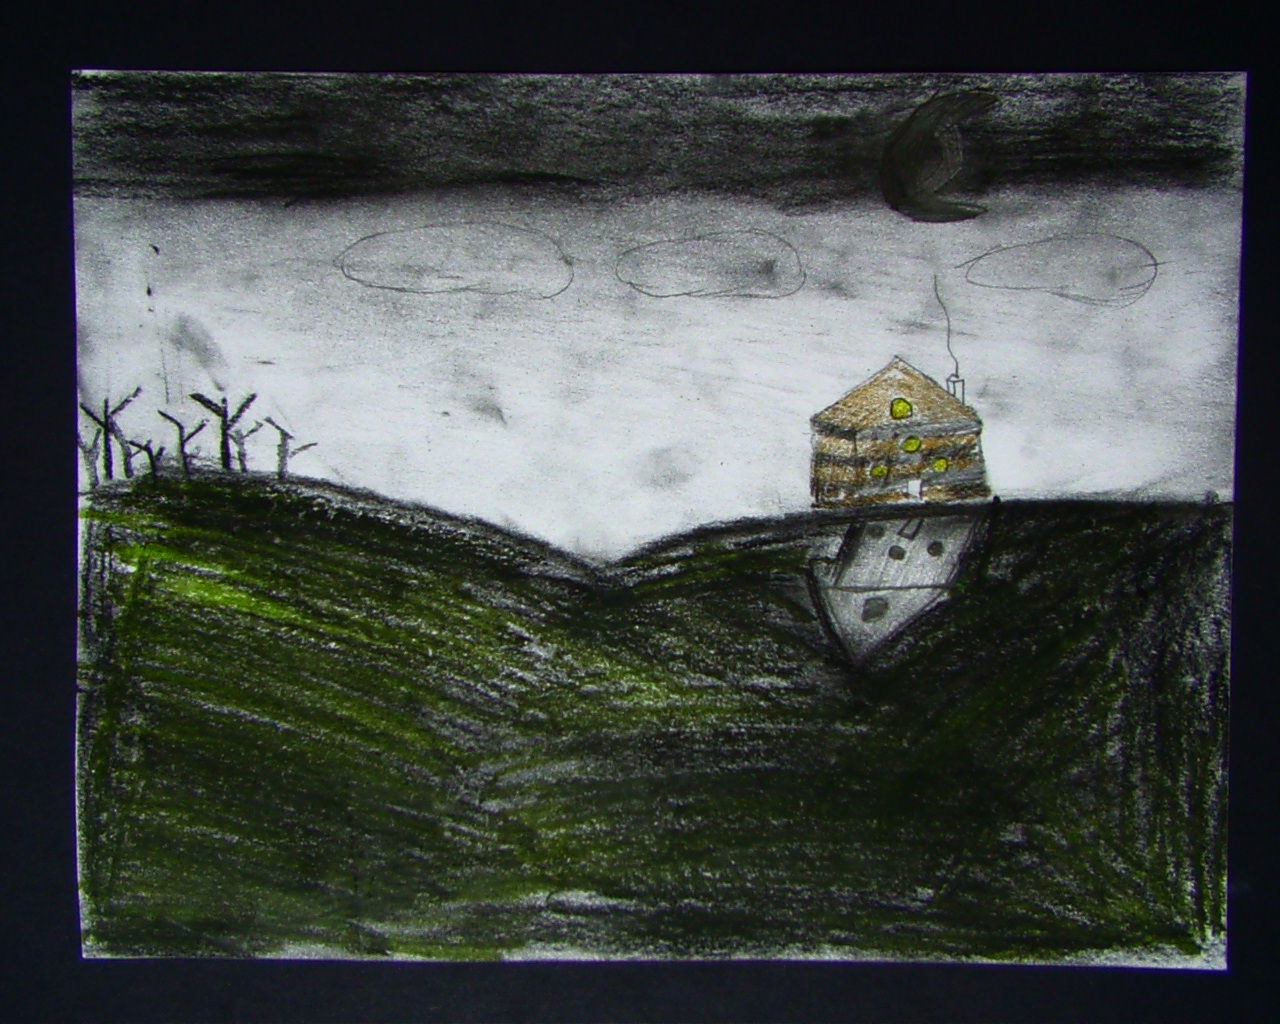
Dark Cabin In Halloween Night

“Dark Cabin In Halloween Night”

Gray Graveyard

“Gray Graveyard”

Sun Set

“Sun Set”

nature in the medow

“Nature in the Meadow”

Flower

“Flower”

Sunset

“Sunset”

wyatt

“Wyatt”

The Landscape

“The Landscape”

Summer flowers!!!

“Summer Flowers!!!”

I’m finished! What do I do now?

If you are a teacher, you dread and despise these words.  However, in a TAB classroom, it’s relatively easy to answer these without saying “go read a book” or “free draw.”  This week, I am teaching students what to do once they are finished with a project (versus a skill-builder or experimentation).  The first thing I do is encourage students to reflect upon their work in several ways.  If it is a W.O.W. project, they need to check the W.O.W. checklist to be sure it qualifies as one.  I then suggest them to hang it up and take a few steps back from it.  This helps to see if there are things missing, areas that could use improvement, etc.  During this time, they also often ask their peers for feedback, which I think is awesome!

Sometimes, during this step, I offer my feedback and/or suggestions as well.  I typically ask them how they feel about it, if there is room for improvement, etc.  If I think there might be areas that could use another look, I try to encourage them to take another look and explain to them why I feel the way I do.  Typically, things that both the students and I notice are areas of unintended white space, places where craftsmanship could be improved, and details that need to be traced or somehow enhanced because they were not able to be seen from a distance.
Once a student is finished with a project, they are responsible for photographing it and saving it to their portfolio on the computer, then writing an artist statement.  My art club students learned how to photograph work using the document camera last week, so they are eager to teach the rest of the students how to do it.  I thought this was going to be a horrible, pull-out-my-hair moment because there are quite a few steps involved in taking the photo and saving it to the computer, as well as uploading it to the website.  I even made a very detailed “How to” poster with each step outlined specifically.  Well, my students made me look incredibly dumb, because they caught on SO fast.  I don’t think one of them has looked at the poster yet.  Oh well, I will chalk this one up to me being technologically inept and my kiddos being super technology savvy.  Either way, it’s fabulous because it saves me from having to photograph all of their work!
Finally, an artist statement basically describes an artwork and explains why the artist created it.  This is another great opportunity for students to reflect upon their art and the artistic process.  Students may choose a “blank” artist statement format, in which they free write about their art (with guidelines from the artist statement flow chart):
or they may choose a template that includes prompts such as “I created this work of art because….” and “Something that surprised me was…”  So far, most of the students have chosen the prompts, but I think that will change as they become more comfortable with the reflection and writing portion.
Now, going back the the “I’m finished!  What do I do now?”….  I have heard this a few times in the art studio, but I think part of that is due to the fact that we are working on an art fundraiser project that has a very specific deadline and guidelines.  To battle this question, I have been reminding students that this is a choice-based classroom, so it’s up to them what to do next.  I remind them of different things we have talked about, such as skill-builders, working on another W.O.W. project, experimenting with materials, trying out different centers, etc.  Once they have this reminder, they are typically happily on their way to finding something to work on.
I know I said this in the last post, but I am seriously loving this type of classroom environment.  While we are still ironing out some kinks and details, the kids are so engaged and are really producing great art!  We are even in the midst of creating art for a PTO fundraiser, which is sort of anti-TAB-ish, since it has some fairly strict limitations, and they are still wowing me with their creativity and work ethic.  I think I am going to wait until the beginning of next quarter to open new centers.  I want to focus on adding some new media to the current centers and introduce some new techniques and concepts (especially elements and principles of art).  Check out some of these in-progress photos:
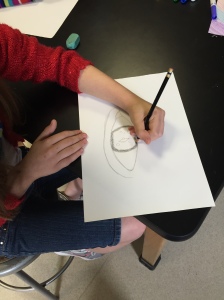
IMG_1507
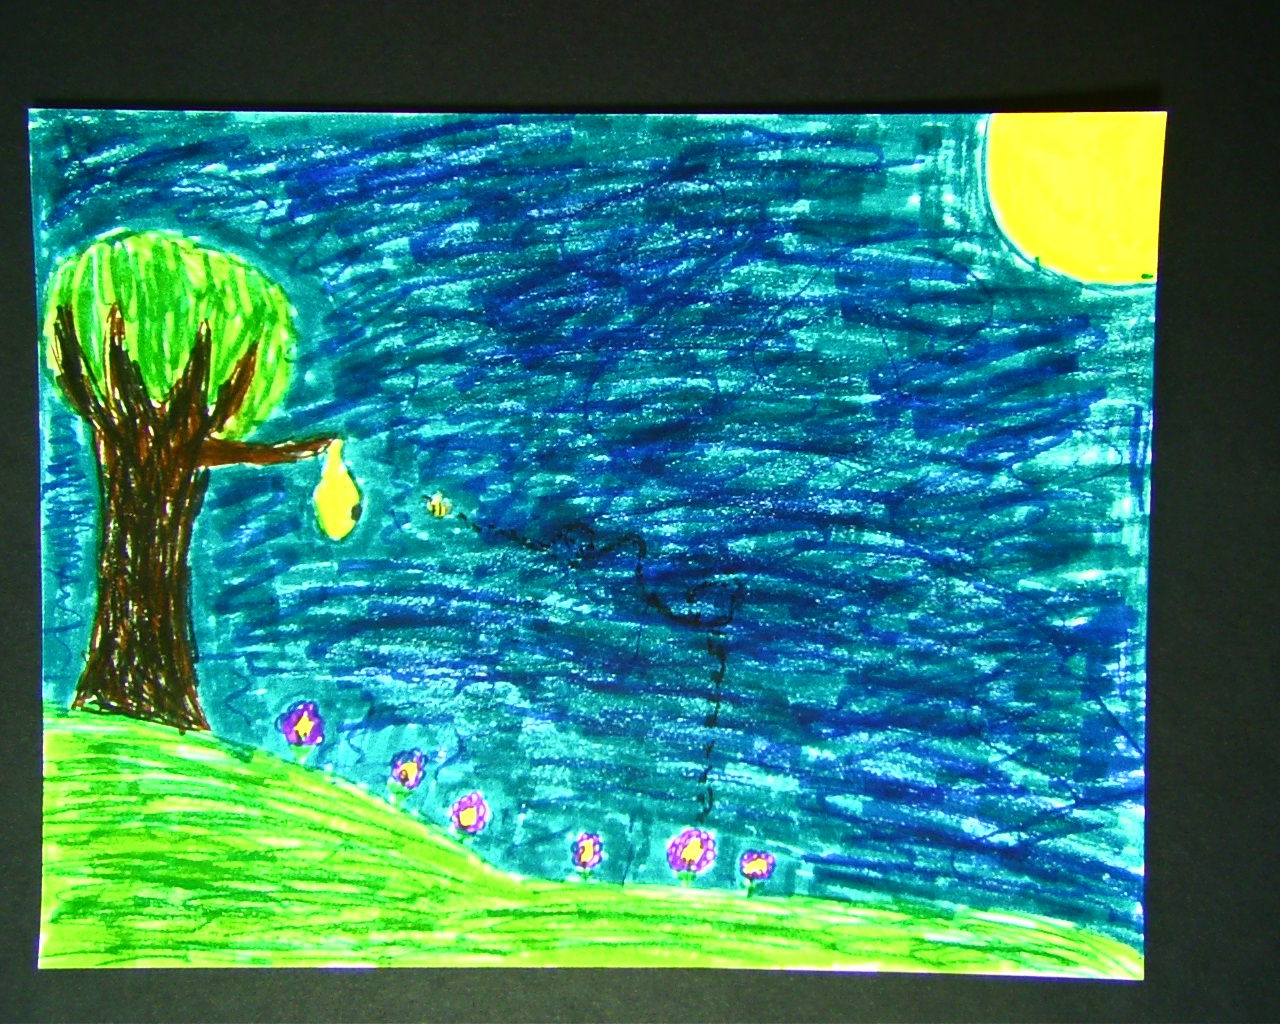
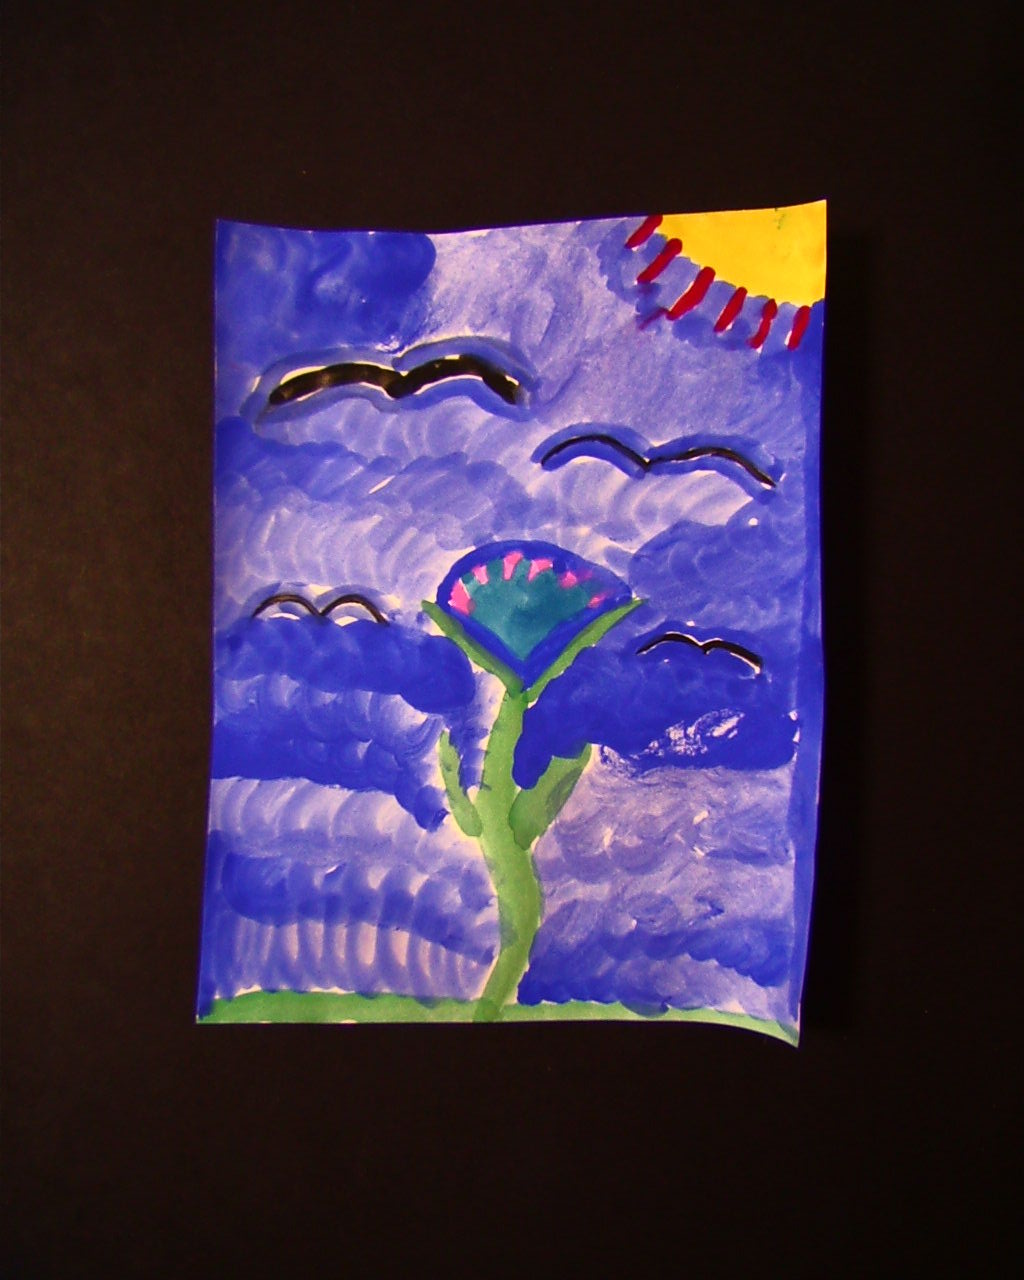
The student doing the painting above has some really interesting and cool approaches to her artwork so far.
I can’t wait to see what else she does as the year progresses.
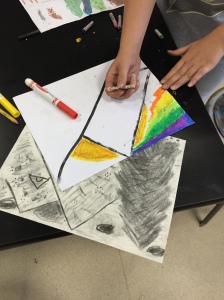
IMG_1525
This drawing is reminding me of Van Gogh’s bedroom painting so far.
We have not discusses perspective yet, but he seems to be figuring out at least some of it as he goes!
IMG_1526
I think students are naturally drawn to circles and radial symmetry.
I’ve had several students from different classes creating similar compositions.
IMG_1530
This student drew a vase with flowers, and is attaching it to another paper on which she painted a table and background.
IMG_1536
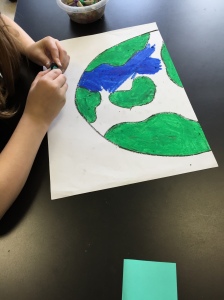
I wish I would’ve taken a photograph of this at the end of class–he made the sphere an Earth and the background is space.  Really cool!
IMG_1592
Absolutely amazing texture and detail on this painting–she has spent LOTS of time on it and it’s fantastic so far!

Back in my happy place :)

Back in my happy place :)

Greetings from my new school in the UK!  I am officially an art teacher again and I couldn’t be happier!  Over the summer I accepted a half-time art position at one of the schools here on base.  I teach about 230 students and am so stoked to be back in a classroom.  For those of you who have followed me before, a lot has happened since my last post which was over two years ago (oh my goodness!).  Keeping it short and sweet: I got married, started (and am almost finished with) my Master’s degree, have had a few different jobs here in the UK, and I had a precious baby boy named Benjamin!  My life has been crazy, busy, and full of excitement!

As I mentioned, I am finishing up my Master’s degree in Instructional Leadership and Academic Curriculum.  While taking classes, I have done a lot of research on choice-based teaching and Teaching for Artistic Behaviors and decided to implement it in my classroom this year.  Basically, it is a teaching approach that respects student individuality, encourages thinking like a “real” artist, and allows students to have authentic art-making experiences.  Here is a brochure I use to help explain what it is to other educators and parents:  TABBrochure

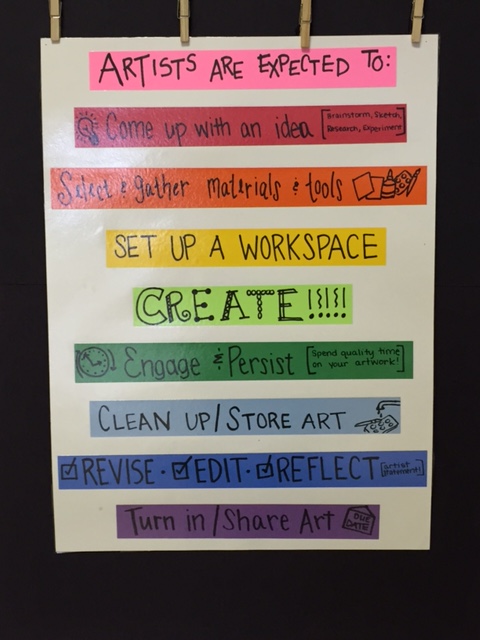
This poster also helps describe what the kids are doing in my room:

IMG_0661

I was both excited and incredibly nervous to implement this, especially after two years of not being in a classroom.  I have been working for about a month and I absolutely love what is happening in my classroom!  The kids are loving it too!  They have the freedom to express themselves and learn as they work.  Here is a basic rundown of what happens during an art class period:

First 5-10 minutes: Attendance, introduction to concept being taught, demonstration

Next 5 minutes: Students choose what center (media) they would like to work in, and get their workstation ready

Remainder of class: WORK TIME!  Students are free to work on one or more projects in one or more centers.  Students are aware that there are 2 skill-builders (practice-type projects) and 2 W.O.W. projects (wonderful, original work of art) due by the end of the quarter.

Last 5-7 minutes: Clean-up, share ideas and art

The first few weeks have been crazy just because there are always procedural items to go over and we are opening the various centers one week at a time.  Here is a breakdown of what we have done each week so far:

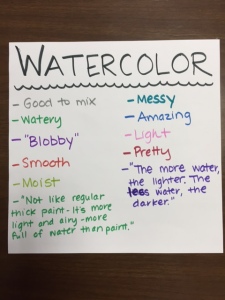
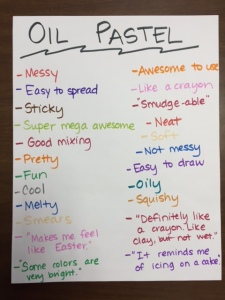
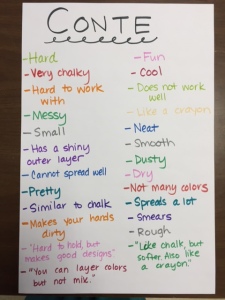
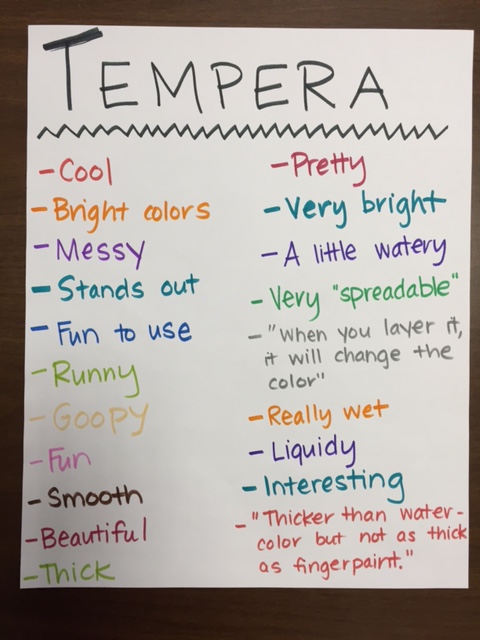
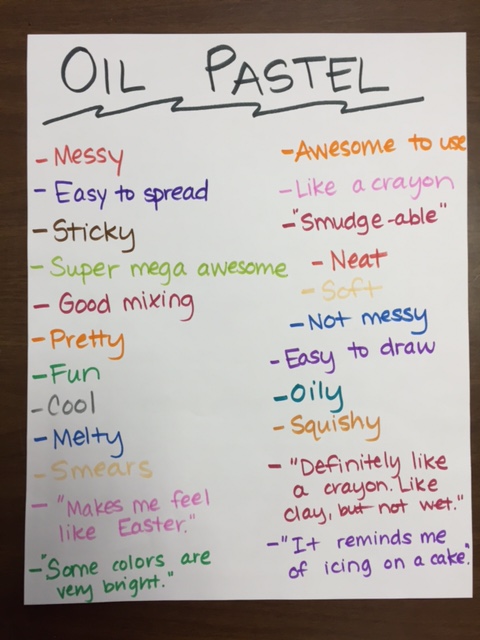
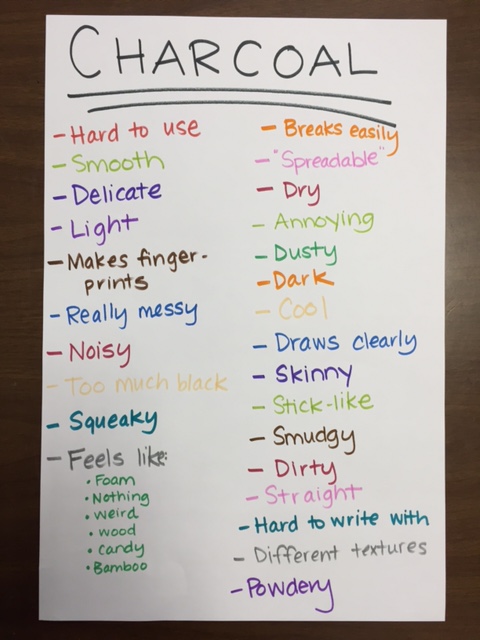
Week 1: Introduction to the choice-based art studio (and their new teacher, ME!).  Media exploration- students had a white paper divided into 6 sections.  At each of my 6 tables, I had different media for them to “play with”.  They could draw/paint whatever they wanted in that square with that particular media.  After about 4-5 minutes, they would rotate to the next table.  I also had post it notes for them to write down notes about each media, such as if it was messy, bold, colorful, etc.  I made posters with these notes that are now hanging in the different centers.

IMG_0655 IMG_0656 IMG_0657 IMG_0658 IMG_0659 IMG_0660

Week 2: Grand opening of the drawing center.  Students were permitted to use white paper, along with the following drawing supplies: marker, crayon, colored pencil, conte, charcoal, and pencil.  They were introduced to the drawing skill-builders (line duplication and value scales), and were taught how to properly get out and put away materials.  We also discussed what artists draw and decided that pretty much everything we talked about fell into four categories:

IMG_0628

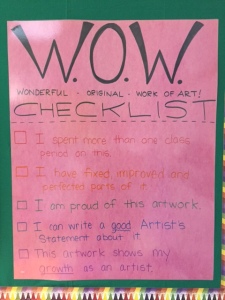
Week 3: What is an idea?  We watched the video “What do you do with an idea?” by Kobi Yamada and discussed ideas and how to nurture them.  I also introduced what a W.O.W. project was and how it is different from a skill-builder and experimenting.  This checklist helps remind students what a W.O.W. project should look like:
IMG_1474

Oil pastels were also added to the drawing center this week (which the kiddos loved!).

Week 4: Grand opening of the collage center.  Students looked at artwork by Matisse, Picasso, and Bearden, as well as collages done by other students.  We talked about how collage artists must think about shape since they are cutting or tearing and gluing.  I did a quick demo of the collage steps I have listed in my room, including how to use the infamous *glue sponge*.  I also showed them two collage skill-builder options (a magazine cut-out color wheel and a mindmap).

Week 5 (THIS WEEK!): Grand opening of the painting center.  I know, I am a little crazy to open the collage and painting center back-to-back and with so little demonstration, BUT: a. we are working on a fundraiser work of art and I really wanted them to be able to paint, and b. they’ve done AMAZING so far!  Very few problems with clean-up or anything!  It’s amazing what giving students some freedom does!  Anyway, I introduced watercolor and tempera cakes.  And by introduced I mean quickly talked them through set-up and clean-up and brush care, then set them free.

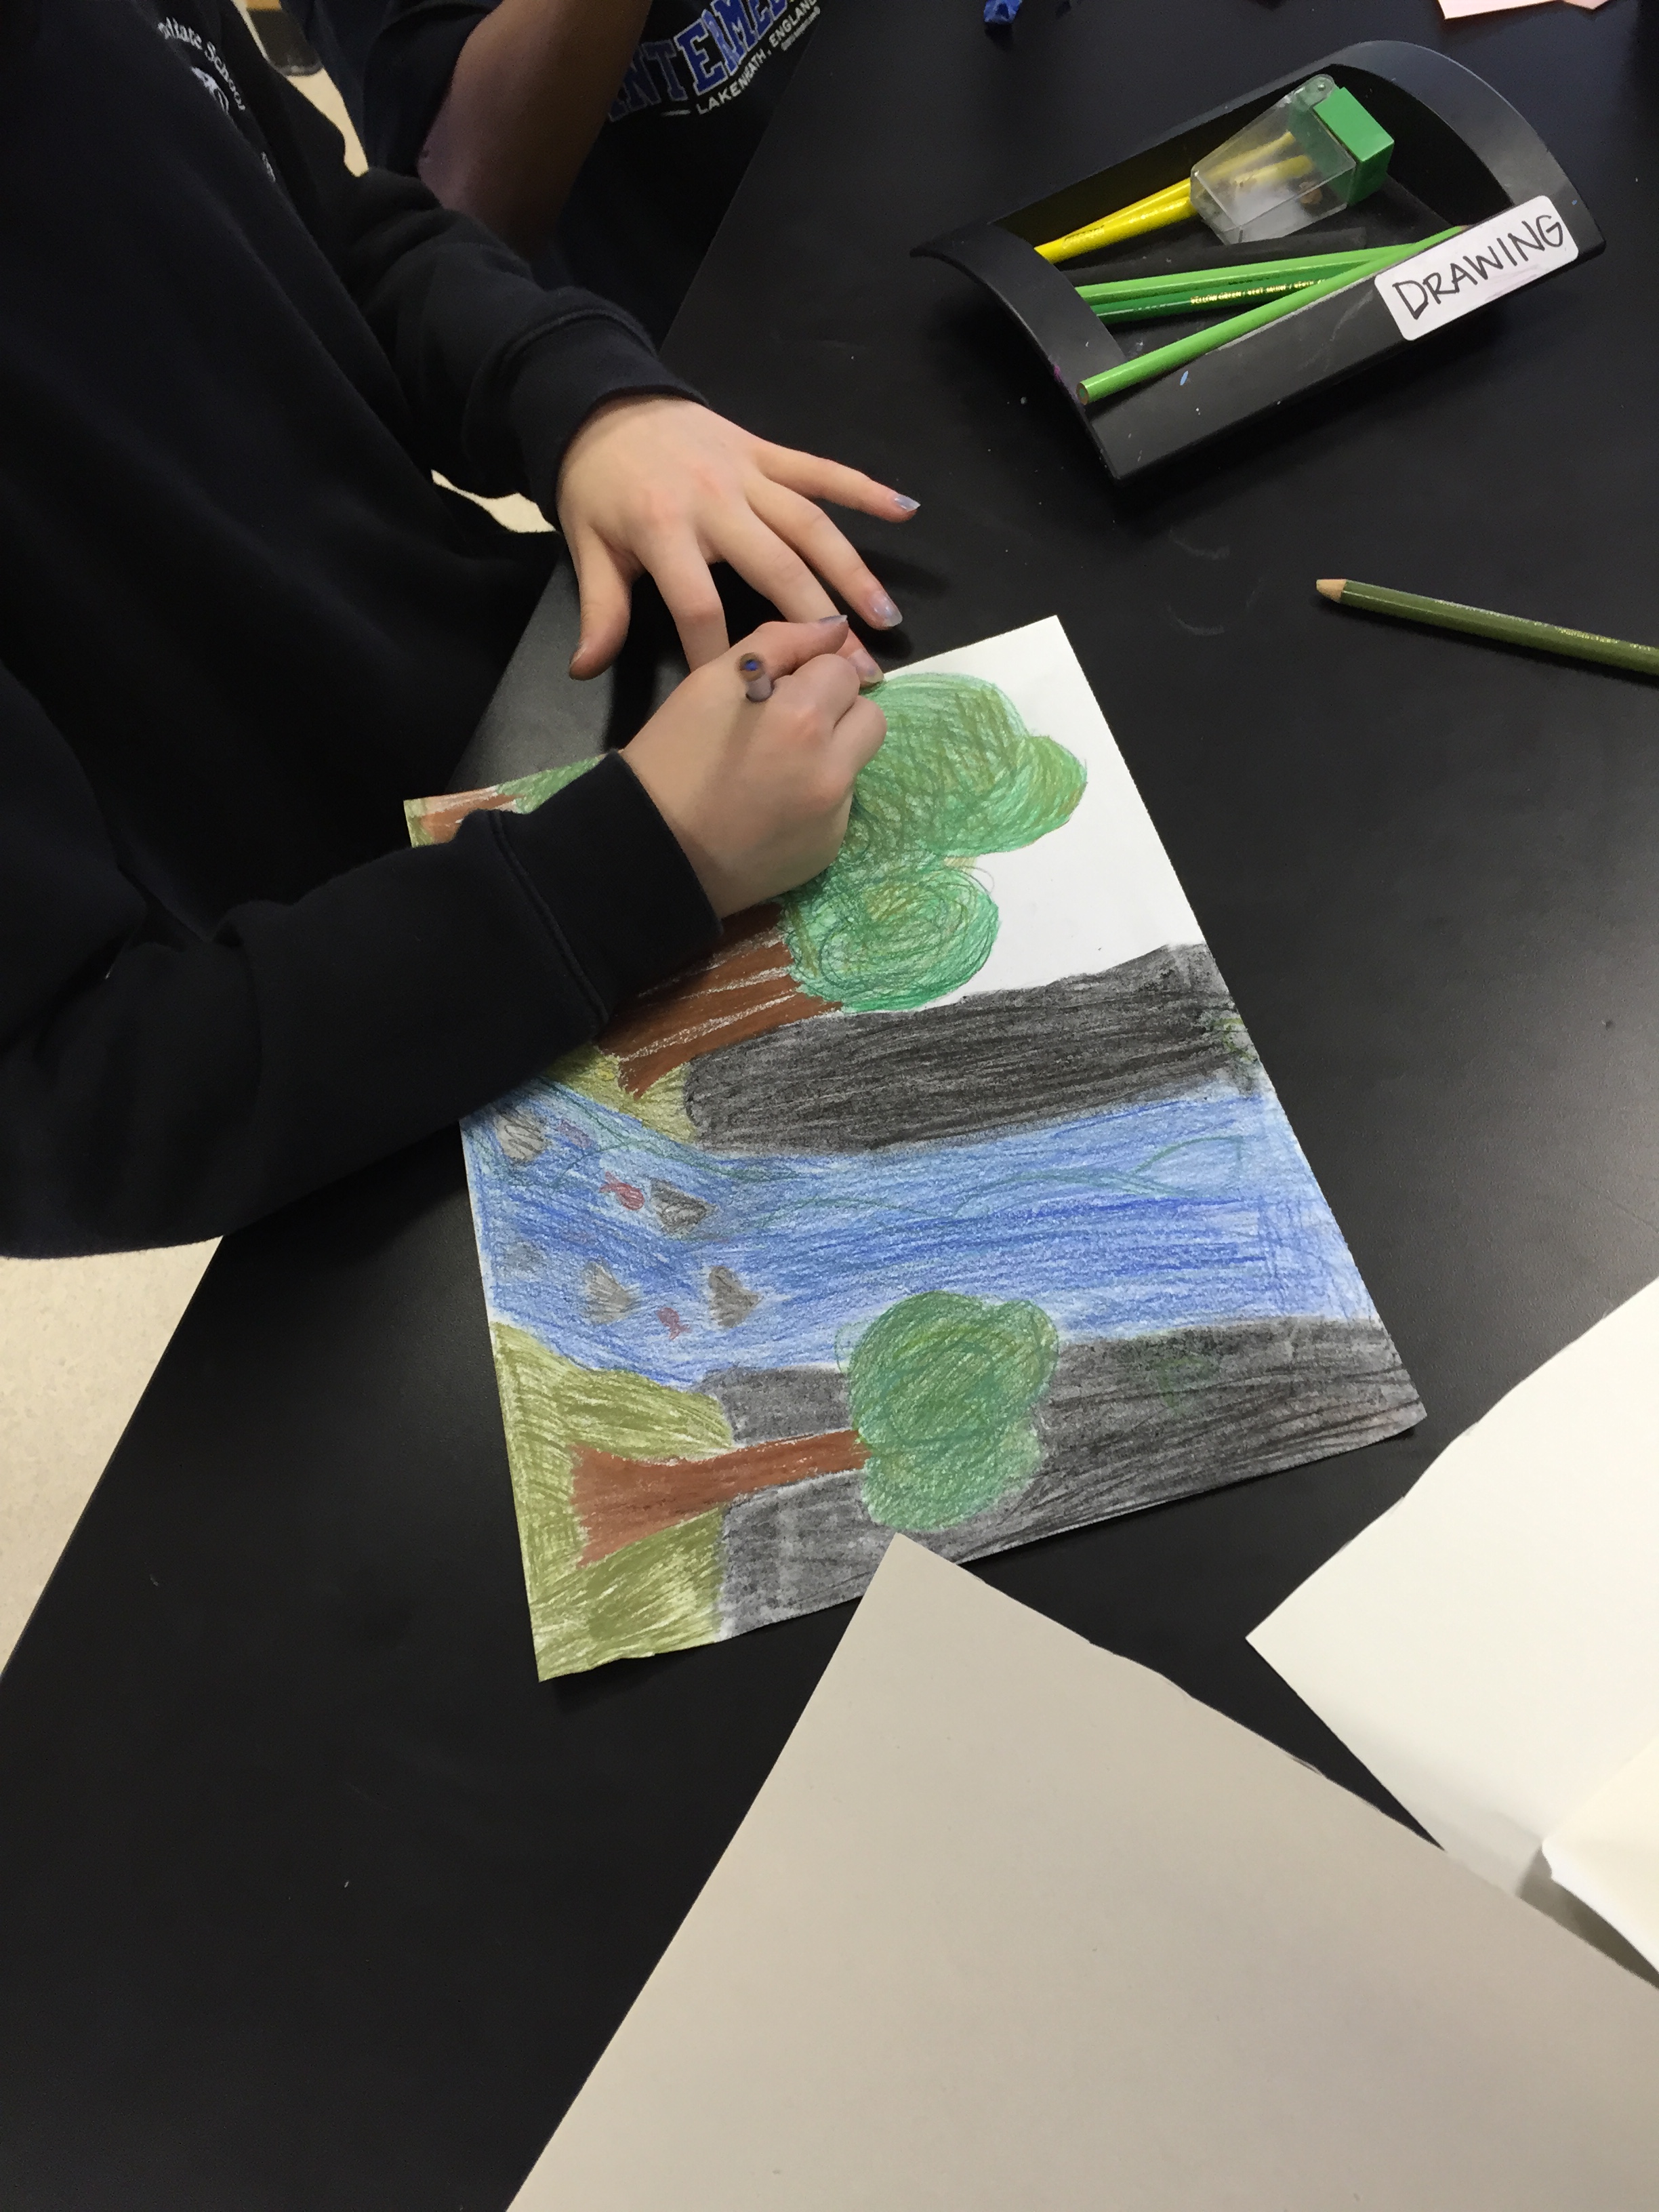
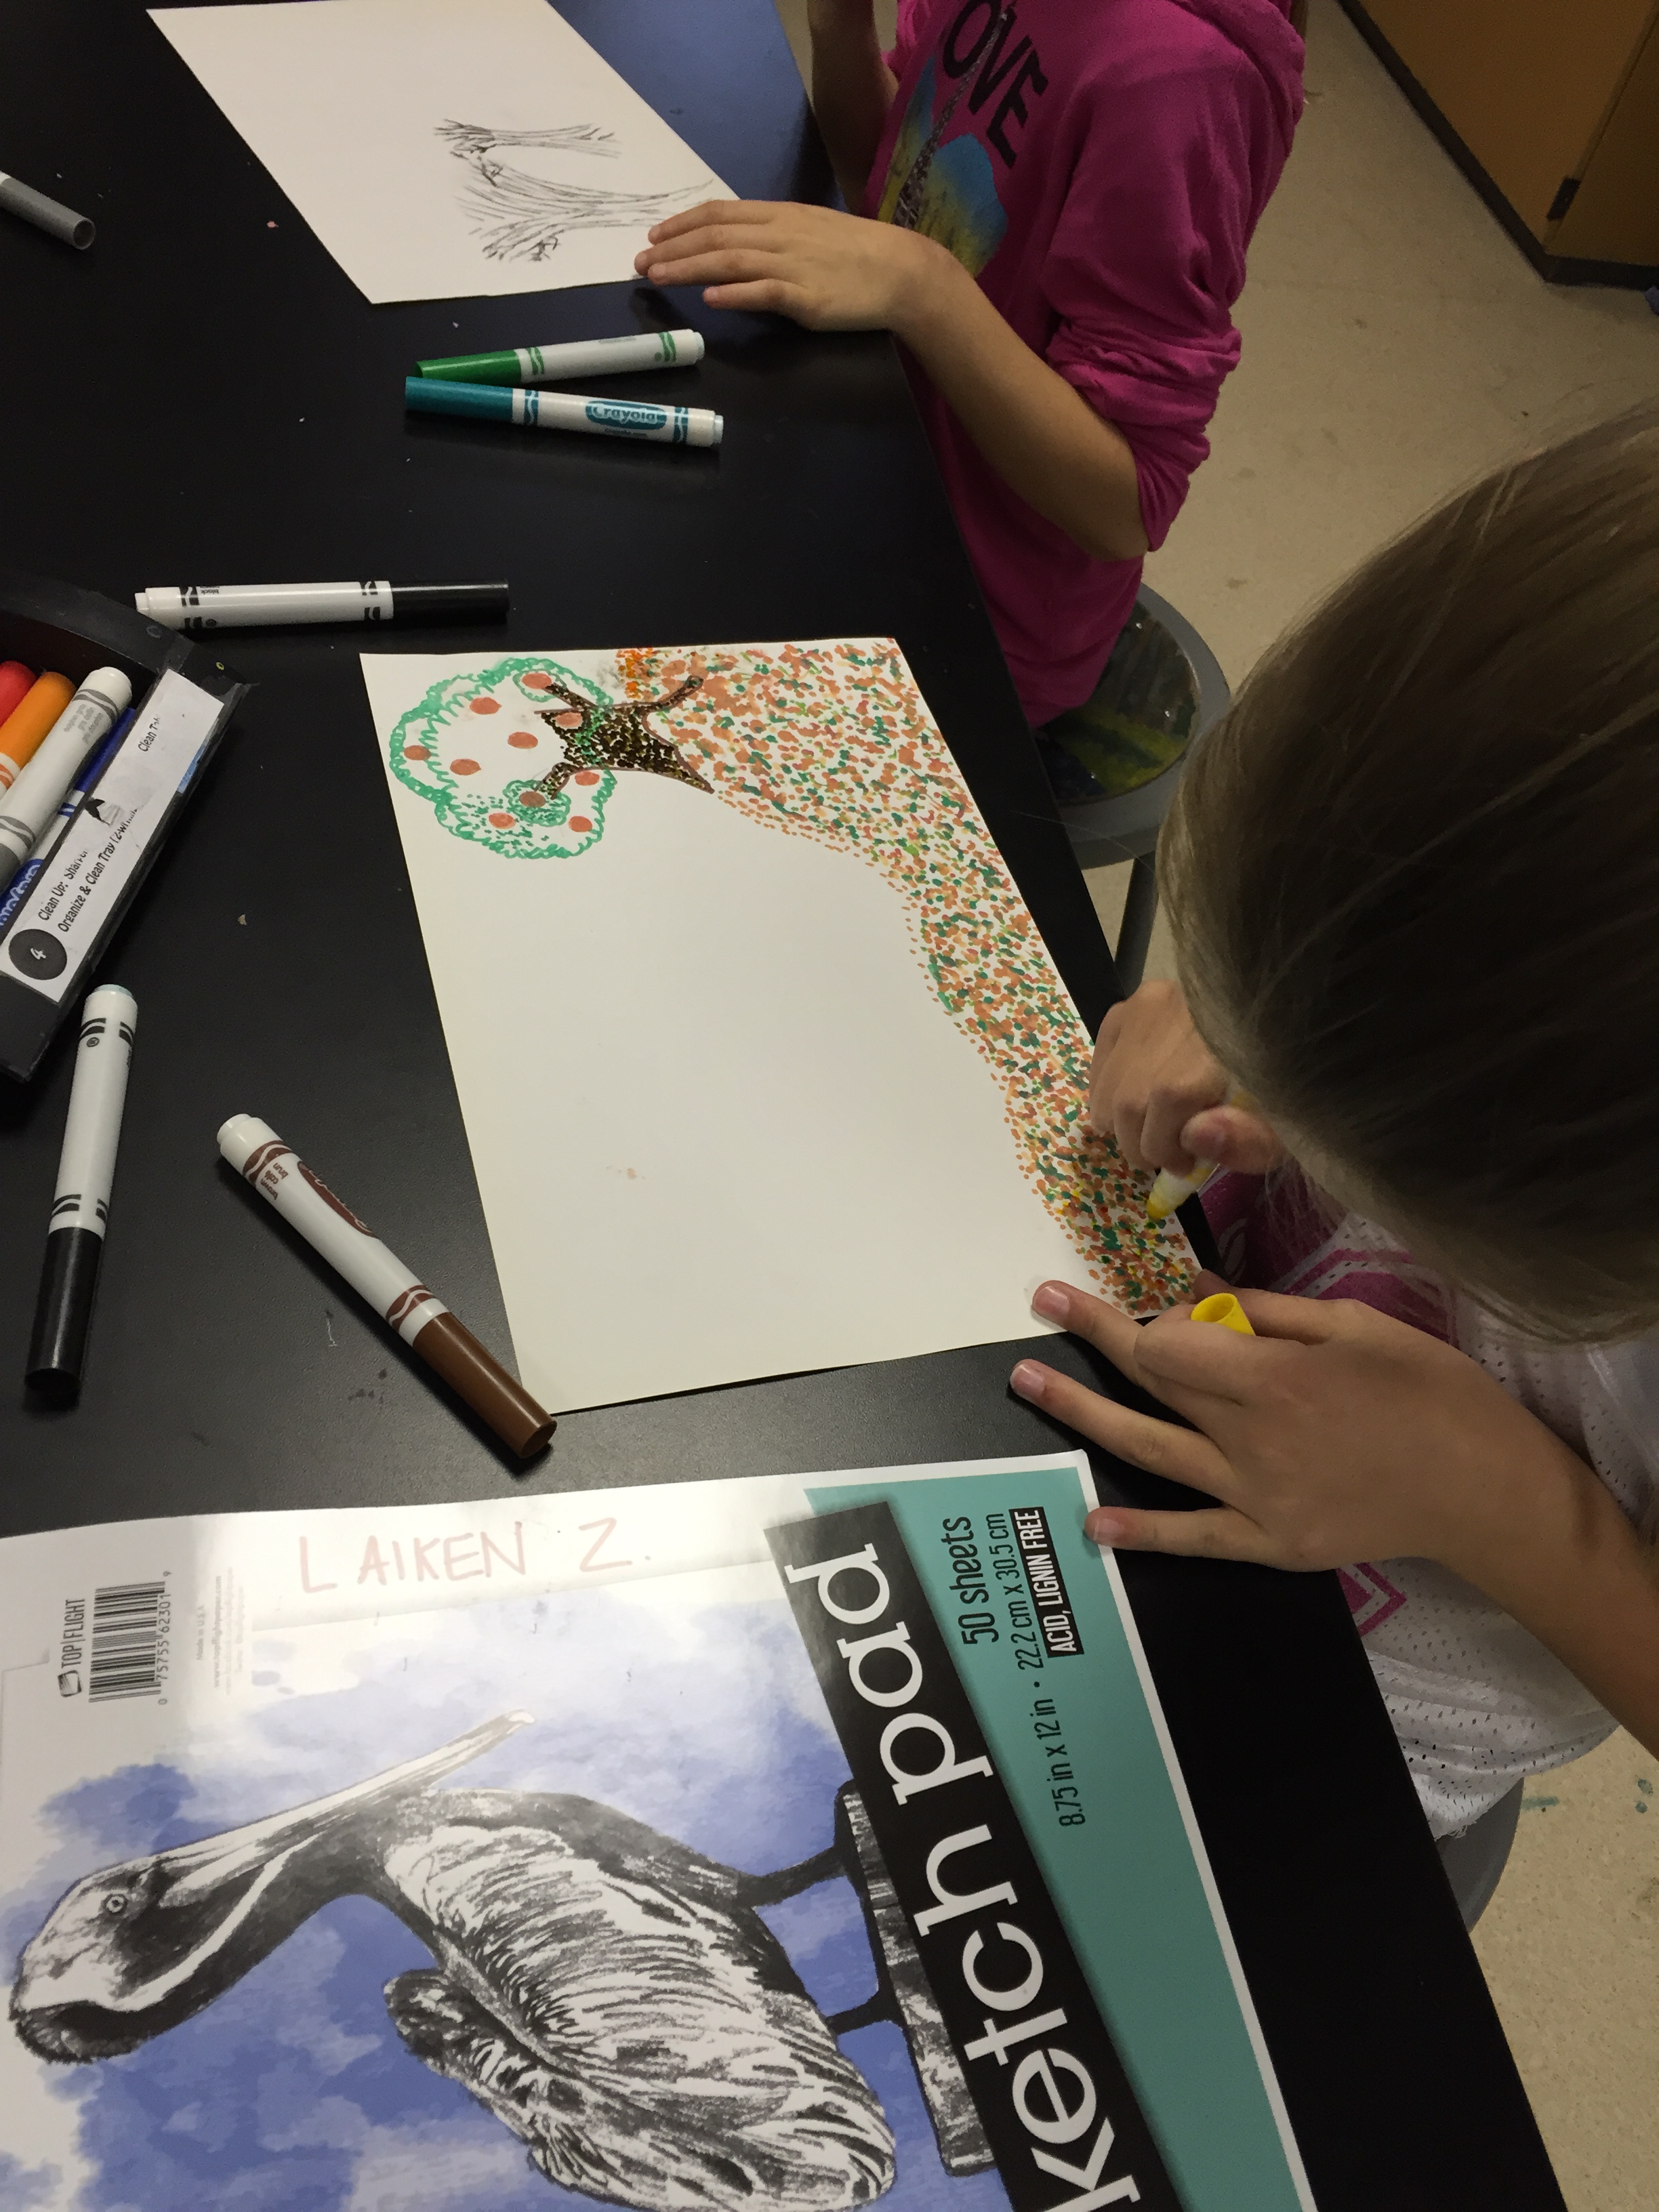
As I said, the kids are really loving this teaching approach and are creating some great work!  That being said, I will say it was difficult to relinquish my control as a teacher and allow them to *gasp* actually think for themselves instead of creating a project that looks exactly like my example (and everyone else in the class!).  I am truly seeing their personalities shine through though, which is exciting.  We have definitely had a few bumps and bruises along the way, but the students and I are both learning how to navigate this type of learning environment.  Here are some work-in-progress photos:
IMG_1150 Colored pencil & charcoal landscapeIMG_1144

Oil pastel drawing

IMG_1110

Pencil and oil pastel fruit still life

IMG_1107

Charcoal pencil drawing of a unicorn eating ice cream with a human dressed as a unicorn (duh!)

IMG_1094

Marker pointillism drawing

IMG_1070

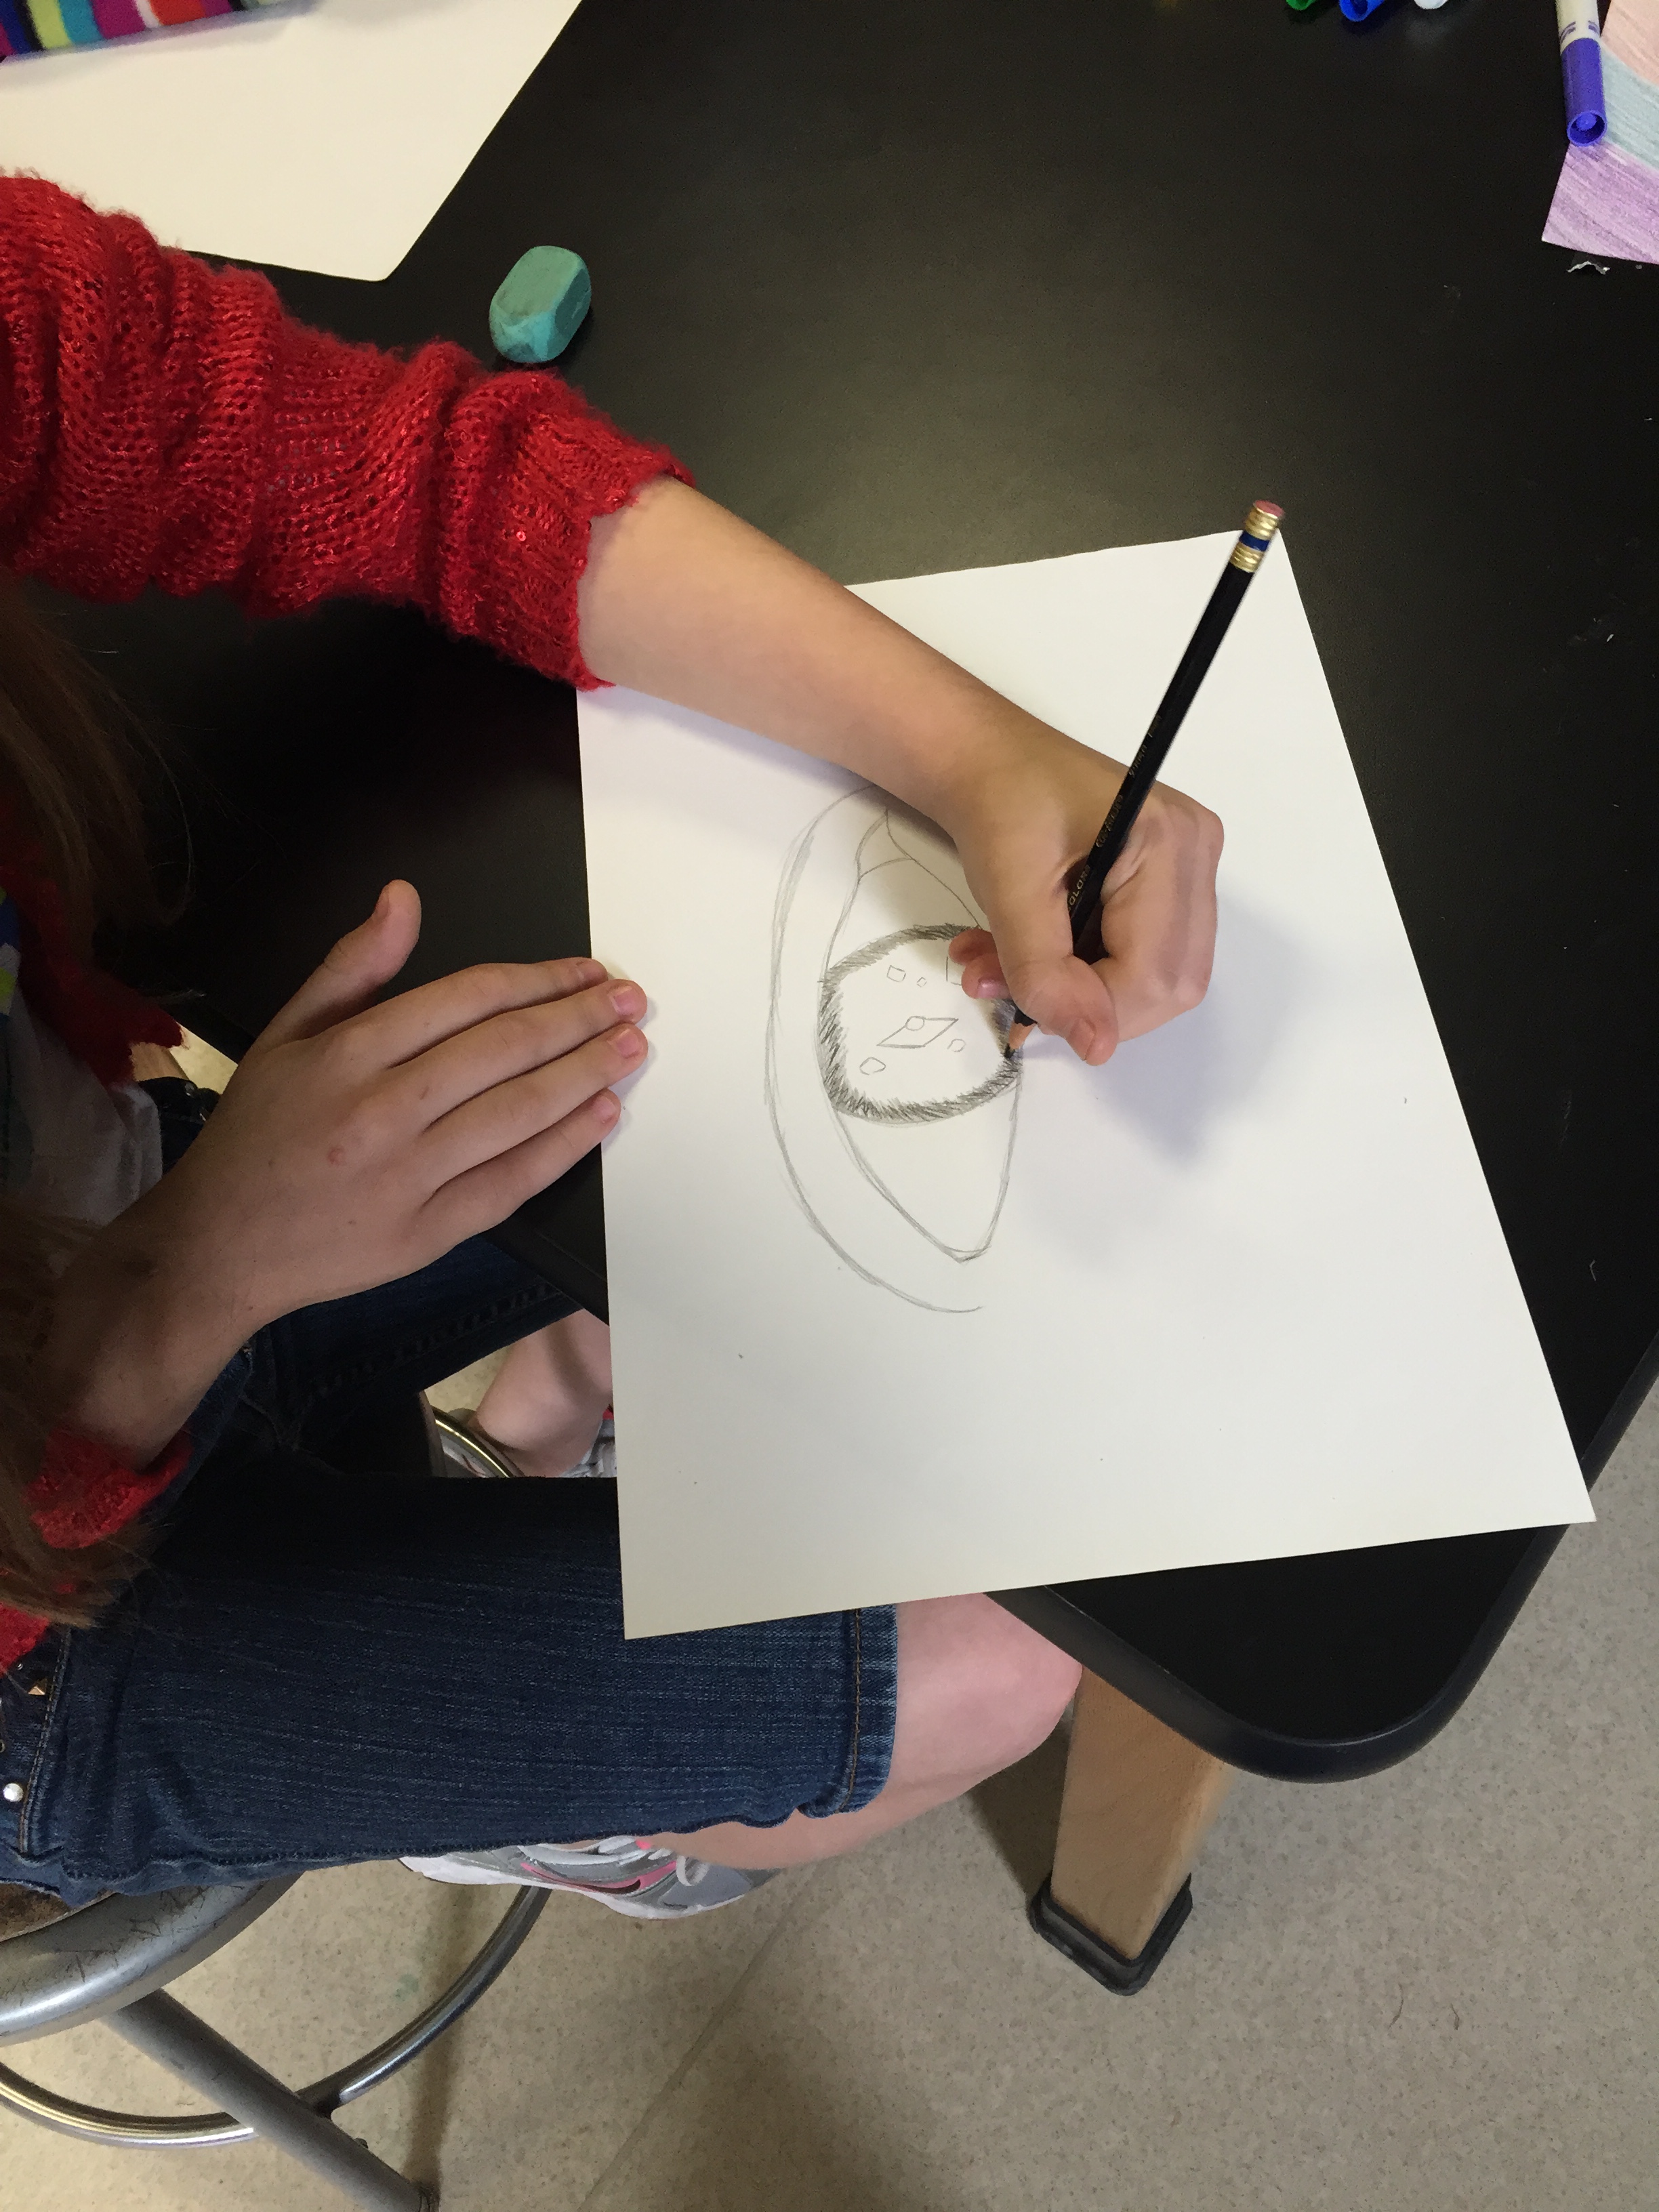
Pencil drawing of an animal eye

IMG_1068

Landscape marker drawing

IMG_1208

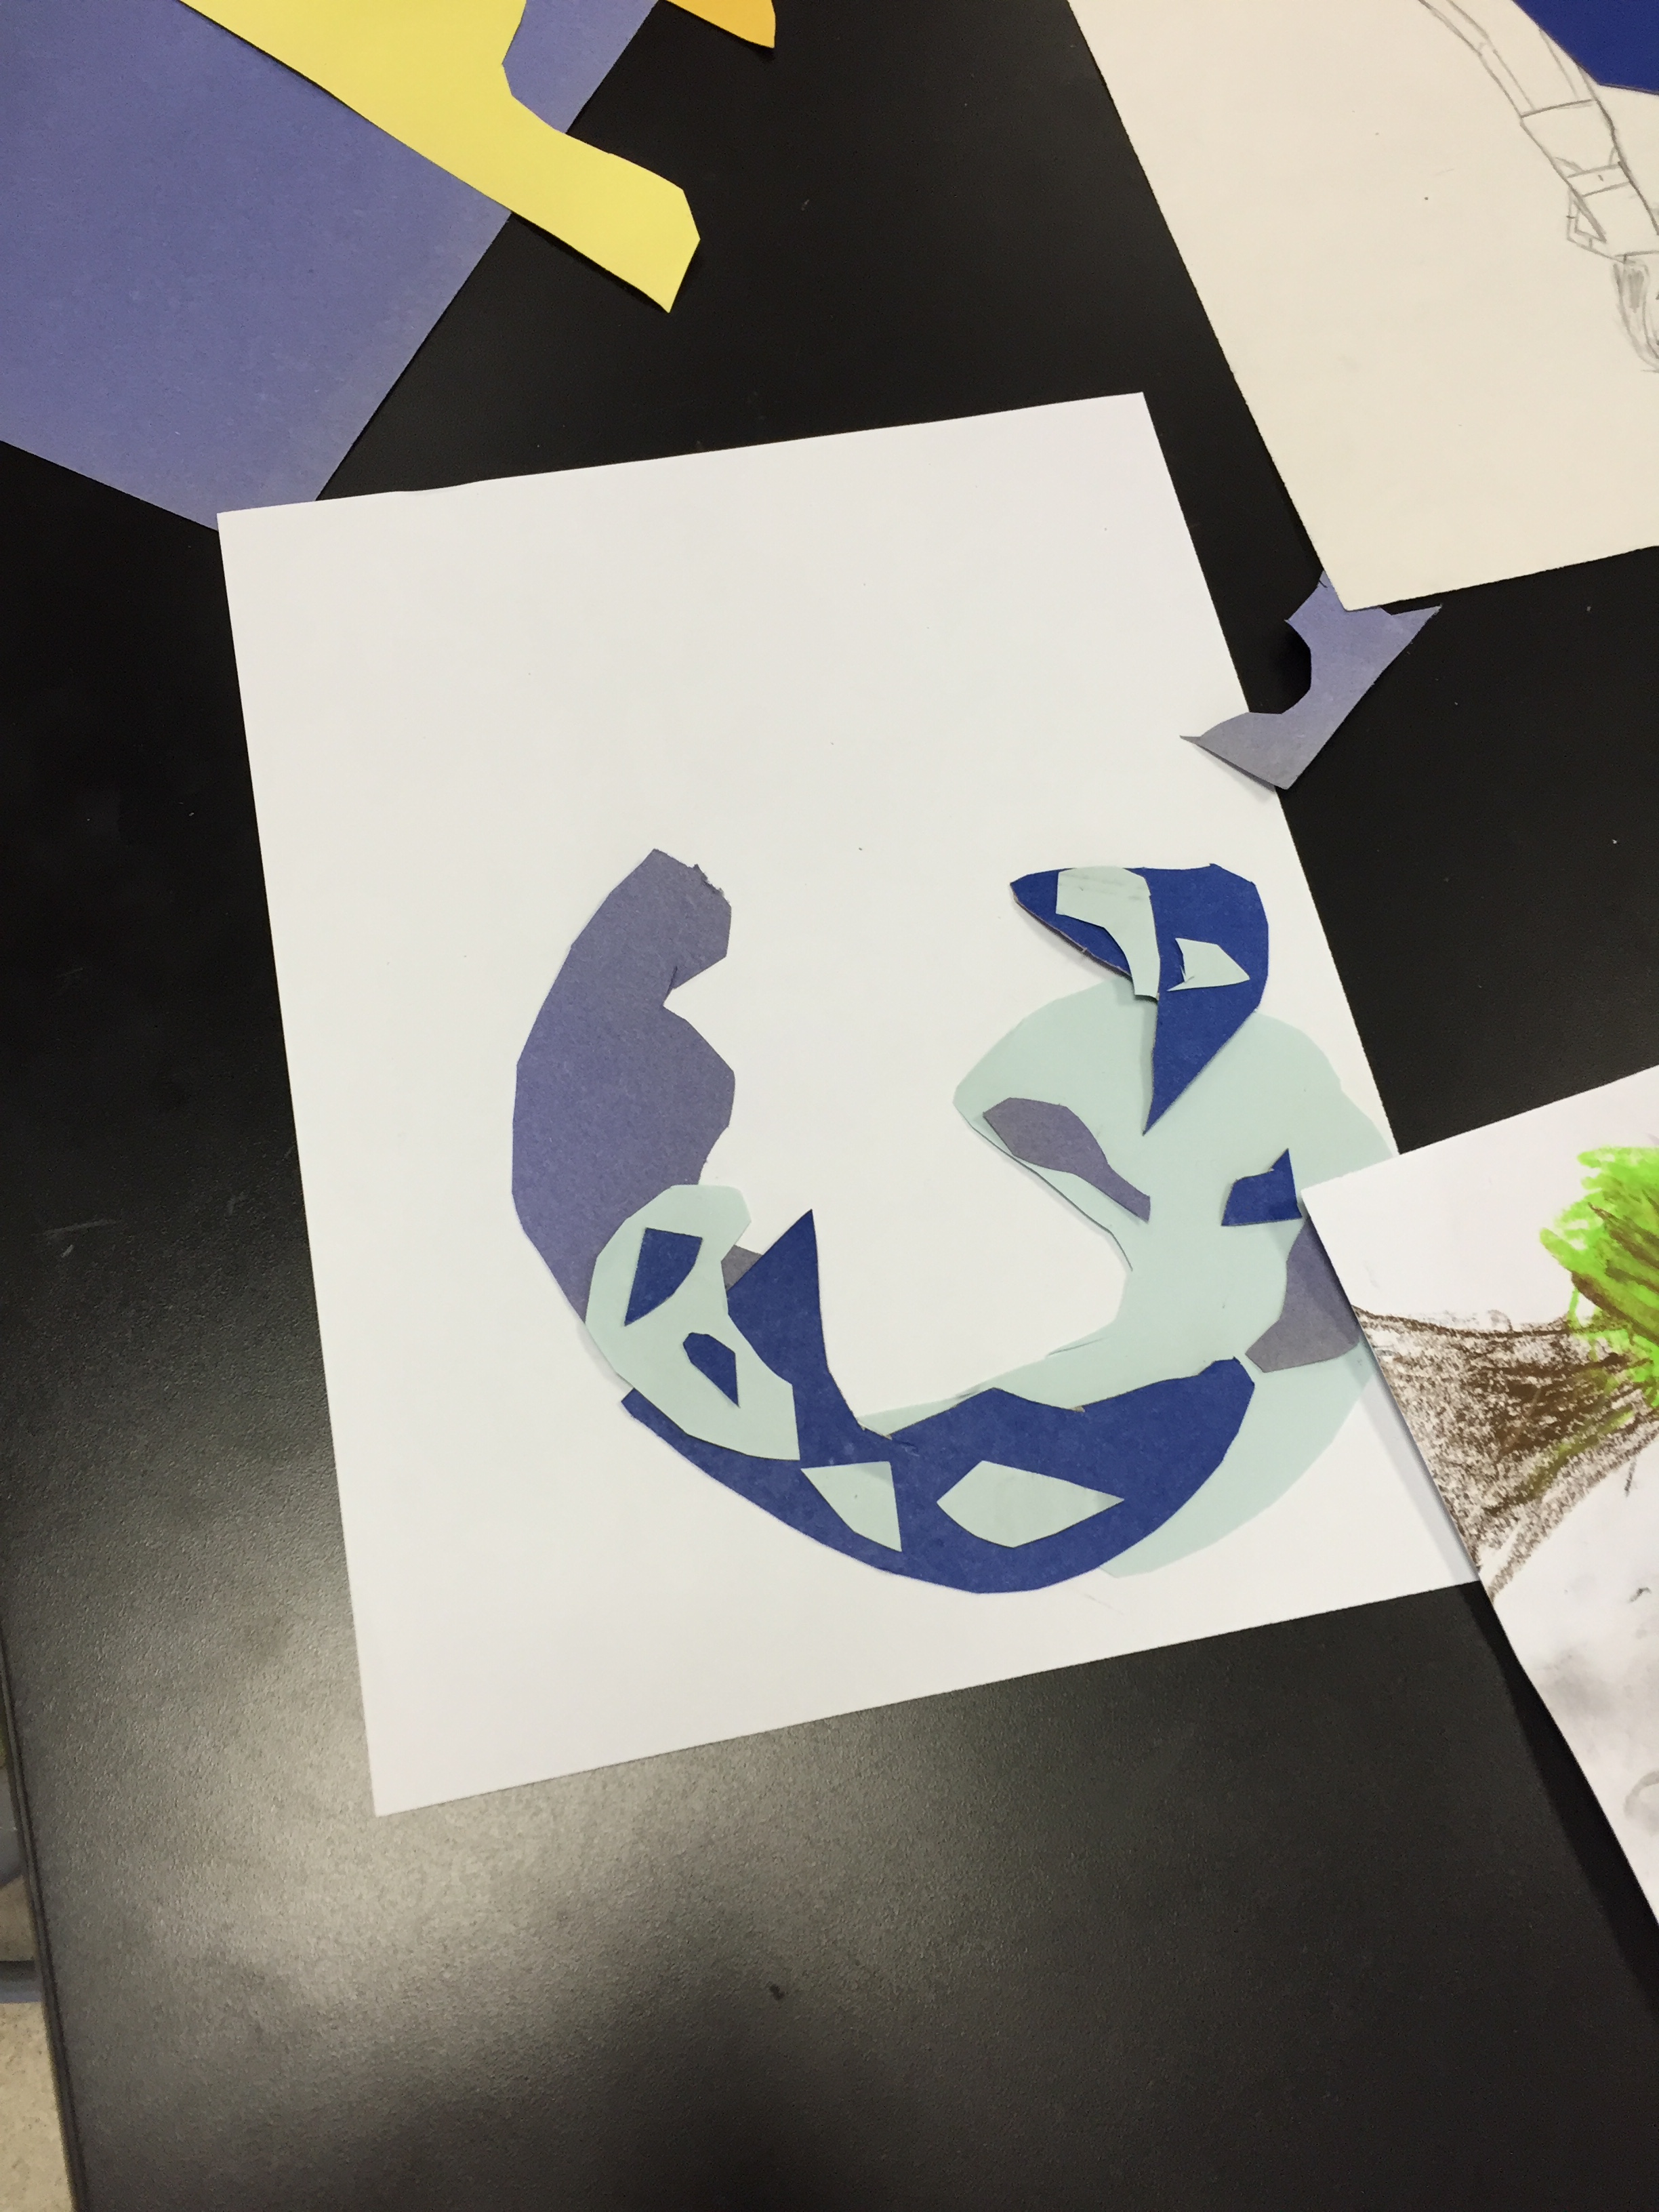
Construction paper collage

IMG_1209

Construction paper collage

IMG_1210

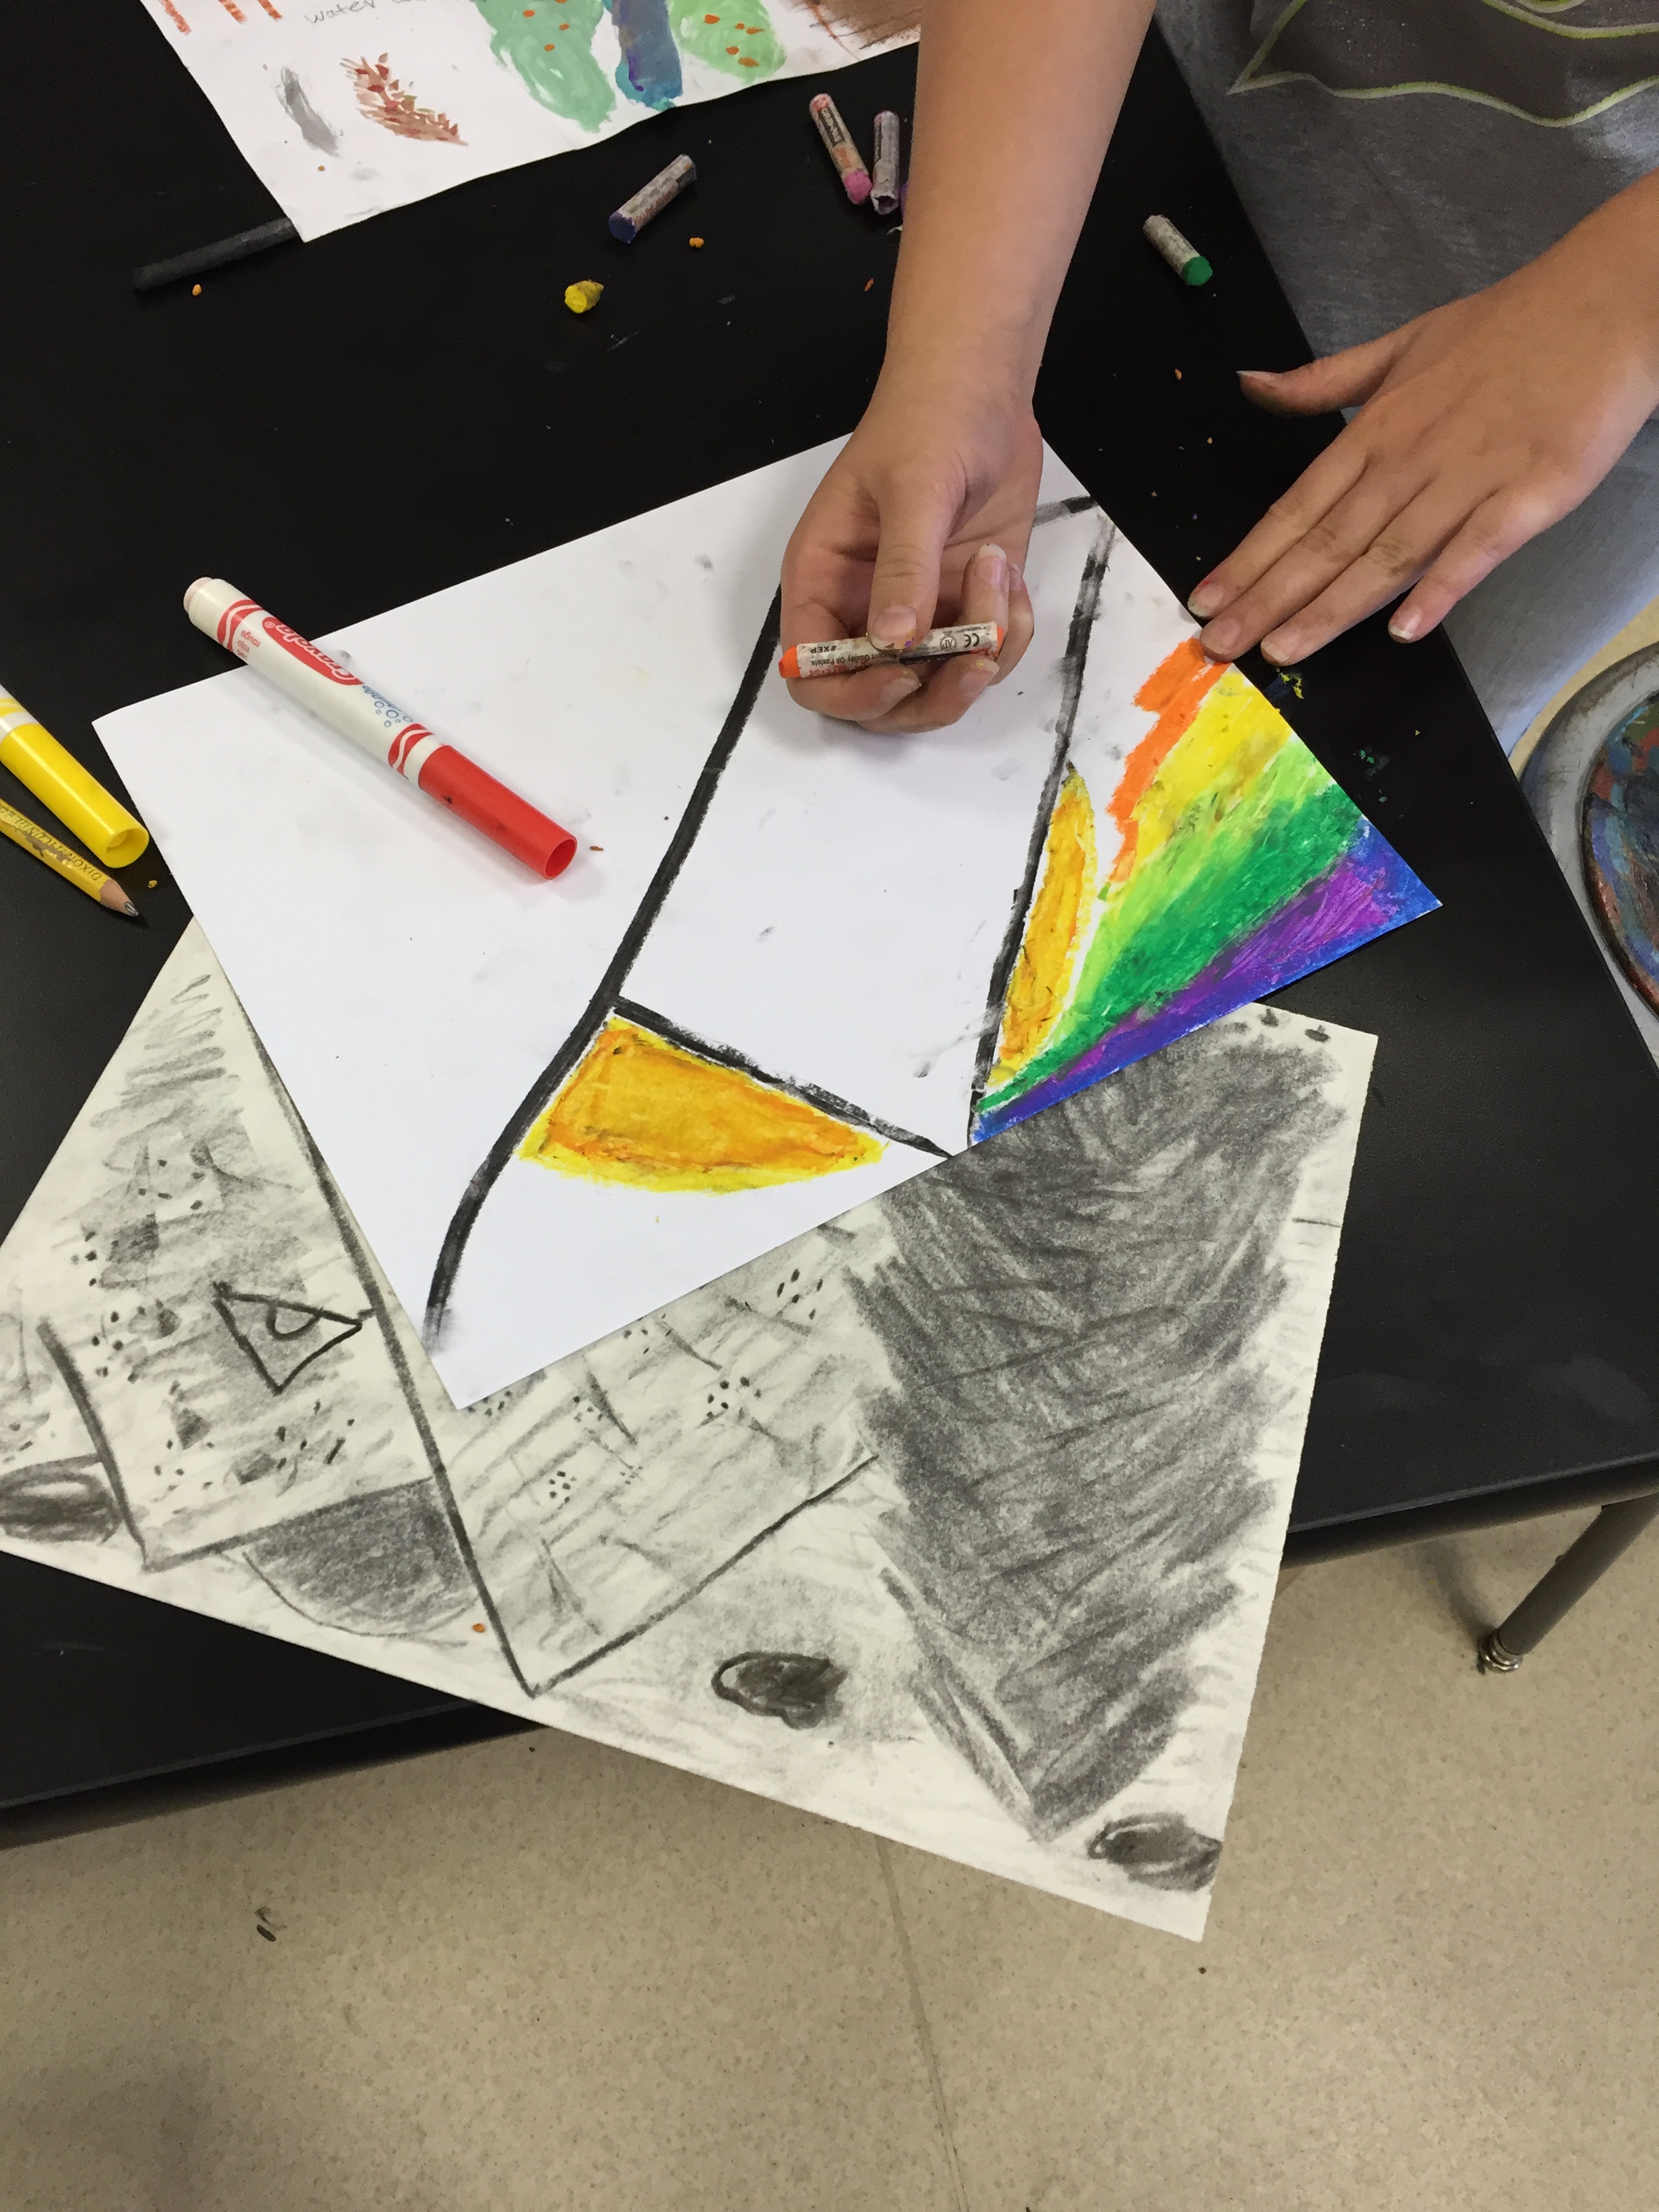
Oil pastel landscape drawing (and below, charcoal landscape drawing)

I apologize for this being so long, but I am excited to be back in the swing of things and plan on updating more often.  Happy Tuesday y’all!

‘ello!

Hey there, and sorry that it’s been forever and a half since I’ve posted, but there is a TON of stuff going on in my personal life that has kept me very busy.  First of all, I got engaged in April and will be having my wedding in November.  However, in the meantime, we found out that we got military orders to Mildenhall, England.  So my now-husband and I did a courthouse marriage so I could join him in England.  Long story short, my husband is already across the pond and I will be joining him and just a few days!  The last few months have been a whirlwind of wrapping up school, packing up my classroom and our house, wedding planning, lots and lots of military paperwork, a bridal shower and bachelorette party, spending time with my family in Ohio, and missing my hubby!  

So…school-wise, obviously I will not be working in Clovis anymore.  While I didn’t love teaching ninth grade, I will definitely miss my students and my wonderful co-workers.  I will have to search through my photos to see if I have any from the end of the year to show y’all… 

I am hoping to find a teaching job overseas, either on base or in a British school system.  Right now, I am trying to become a substitute so that I have a bit more flexibility for the wedding and for traveling.  (By the way, we are BEYOND excited to be in Europe!!)  I am also open to teaching in a regular classroom in an elementary school.  Either way, I will start updating my blog more once I am there and in the classroom(s).  Depending on what I am teaching, my blog might take a bit of a turn toward subbing and/or early childhood education ideas and such.  

Cheerio! 

In the home stretch

Well, we just finished up spring break here in New Mexico, which means that we only have 9 weeks left in school!  Super crazy!  This year has definitely been a learning experience working with ninth graders.  I got new students after Christmas break, and I either have things figured out a bit more, or the kiddos are a bit more mature this semester (possibly a combination of both?).  Since I have been super lame about posting as much as I should, I am just going to upload whatever photos I have on my computer now, some from this semester and some from last.

Still Life Collages (mixed media–acrylic on paper and cardboard, map pages, newspaper):

DSCF3138

DSCF3140


DSCF3141

DSCF3147

More Self-Portraits (mixed media):

DSCF3298


DSCF3299

DSCF3300


DSCF3301

Still Life Fruit Paintings (acrylic paint on paper):

shaleia

david


destiny

kyle

melleaha

I also had two students that participated in a juried art show at Eastern New Mexico University!  I entered quite a few students, so I was pretty excited when two made it in the show.  These photos aren’t very good quality, but you get the idea….The first is a typography piece, created using words letters.  The second is a watercolor painting based on a non-objective assignment I gave.

0301131803


(pencil on paper)


0301131808a

(watercolor on paper)

…..I’m back!


Ok….so I had a whole post typed out…and it disappeared. GRRRR!  The gist of it is that I wasn’t sure if I wanted to continue my classroom blog, but I have had requests, so here I am.  I am now teaching at the Clovis High School Freshman Academy, [a fancy way of saying the school that houses all of the 9th graders in Clovis…yes, ONLY freshman.]  Very different from elementary school, very different from Georgia.  I miss my babies, but I am beyond grateful that I have a job!  And that it is still doing what I love.  Anyway, I have some very talented students and we’ve done some fun stuff.  I have lots of pics…

First project–contour and positive/negative shapes and space….

Another project early in the year–Picasso/cubism inspired, value (light to dark):

Pumpkins…I LOVE these!  The lighting isn’t great, these are done with chalk pastel on black paper.


Perspective projects…kinda boring project, but some nice drawings.


Our latest project, which some students are still working on…self-portraits.  I have some other projects that I haven’t photographed yet, so expect another update soon.  Here are some of the self-portraits so far….


Alright, done for now, hope you enjoyed!


14 is the magic number!

Ok just a quick post with some pictures!

I mostly wanted to post these pictures of foil sculptures that my fifth graders are doing based on Giacometti–I love them!

We started by doing gesture drawings, discussing how to show movement and sketching quickly.  Each student posed for 30-60 seconds while the other students sketched them.  They chose their favorite pose/sketch and “sculpted” it with pipe cleaners, then covered it with foil.  For the base, I had some wood pieces I got at Home Depot for FREE (yippeeee), so they put a little glue and wrapped them, then I helped hot glue their figures to the top.  I think they’re pretty fabulous!  {So do my other students, all of them have come in to my classroom in awe!}

Also, these paintings were done by my kindys–we looked at Van Gogh’s “Field of Poppies” and talked about how the flowers kind of just looked like smudges across the painting.  This painting was all about process, and it was a messy one!  We started with the flowers, using our fingers to “walk” the paint across the paper.  We added stems by dipping the edges of a piece of cardboard into green paint and printing.  Our sky was sponge-painted blue.  I think the grass was the kids’ favorite part- we “spray-painted” them.  I took a spray bottle of water and dropped in about 4 green marker ink tube-things (technical term, ha).  The water turned a nice rich green.  I set up a spraying area {we made quite a mess!} and they got to spray their own paintings.

Happy almost-May y’all!


Testing Blues

Spring break is long gone and everyone around my school has the testing blues.  Well, not everyone…I am one of the lucky ones this year and I don’t have to administer or proctor a testing session, so I am quite happy 🙂  The 3rd, 4th, and 5th graders are taking the CRCT standardized test this week, and the K-2 teachers are administering (due to high volume of cheating, etc in Georgia) so that they have “no connections with the kids” and whether they pass or fail.  Basically it means a whole lot of switching classrooms and crazy schedules for five days.  To make a long, silly story short, the kindergarten teachers are administering tests for the third graders, and since there are 3 third grade teachers and 4 kindergarten teachers, one of the kindergarten teachers is doing a small group testing and I am teaching her class for the mornings.  I am enjoying it so far–I definitely think if I taught it a “regular classroom” (vs. ART), it would be in a younger grade.  It is always hard to go into someone else’s room and try to stay on their schedule and not disturb their routine, but I think the kindys and I did pretty well today 🙂  After testing, I still teach 3 classes of art, so I do get to see some of my other classes.  We are wrapping up some pretty exciting projects right now, and I think I actually have pictures of most of them….

Kindys and first graders have been learning about Wayne Thiebaud and his desserts.  We introduced/reviewed three-dimensional forms and shapes and learned how to draw them to create cakes in kindergarten and cupcakes in first grade.  Here are some of the kindy cakes– they colored with oil pastel then used baby oil to blend the pastel, which made it kind of look like icing!

YUM!

The first graders’ cupcakes were a little more involved, as we talked about ways Thiebaud make his desserts look real.  Not only did he make them look three-dimensional by making them look like cylinders, cones, etc., but he also added shadows and light areas.  We discussed which way the light was coming from and where the shadows would be.  I love how these turned out.  Again, we used oil pastel, and they loved blending the light and dark areas!

I have some more of these that I need to take pictures of, but I think they did a fabulous job!

Second graders have also been working on making objects look real and three-dimensional using light and dark values, but I introduce some more vocabulary words in their lesson.  I am going to explain the process I used then post pictures of a few of the different steps.  The first words we talked about were parallel lines.  We compared them to the sides of the road, edges of my white board, and a ladder.  We drew 3 sets of parallel lines on our paper that overlapped.  I then introduced light and dark values (tints and shades) and why artists might use them in art.  We talked about making things look three-dimensional using values, especially in cylinders, which is what were were going to turn our lines into.  We colored each set of parallel lines one color with oil pastel.  We then added shadows/shades on one side, and highlights/tints on the other using black and white oil pastel:

Like the first graders, we blended using the oil pastels.  You can see they are starting to look three-dimensional, almost like pipes.  We glued the white paper to a large piece of construction paper and added triangles tips to make our “cylinders” into colored pencils and crayons.  This was the first time I’ve done this project and I like the way they turned out for the most part.  The only problem I really had was that since some of the pencils were diagonal on the paper, the tips didn’t always get glued on straight, so the pencils had crooked points, haha.  Oh well, live and learn, right?

Onto third grade….Third graders have been learning about the printmaking process and Pop Art, focusing on Andy Warhol.  They came up with four “pop” images and chose one to carve into styrofoam.  They set up a paper so that they could print 8 times (some on colored paper, some on newspaper, etc), and learned how to roll the ink out with brayers and print with ink.  I love these!

(Angry Birds)

(Girl Scout cookies)

(Coke)

Some of the kids really surprised me with these prints (in a good way!)

Ok, so I think I lied, I don’t have any pictures of the fourth graders’ finished monoprints 😦  The last post showed them working and they are now in the process of signing their prints, so I will post the final pictures soon!  So sorry!

Finally, most of my fifth graders have finished their Notan designs.  I have to say, I LOVE LOVE LOVE this fairly quick and easy project–not only does it touch on a TON of art ideas and vocab, the results are stunning! Check ’em out!

These pictures just don’t even do them justice!  They are gorgeous!

Also, snaps to one of my fifth grade students, her Black History Month portrait won Honorable Mention in the County-Wide Art Competition, woohoo!  Love when my students’ hard work is recognized 🙂

Have a great end of the school year y’all, only 23 more days with the kiddos for us, I can’t believe it!

Ahhh only 9 more weeks?!?!

Actually, technically less than that now!  I can’t believe how fast this year has flown by!  It’s a very bittersweet time, as I am winding down my time with my LCE babies.  I will definitely miss the people I work with and the little ones, of course.  I am excited for the next step in my life (whatever it might be at this point in time…), but Atlanta and everything here has a special place in my heart.

While I am tearing up, I might as well add my other very sad update.  One of my dear friends and coworkers passed away last week due to heart complications.  She was only in her 30s and had had some health issues in the past, but this was VERY sudden and incredibly heartbreaking both for friends, coworkers, and the students.  We will miss Nickie dearly at LCE and we are praying for her family and friends during this time.

Wow, what a way to star a post huh?  Sorry about that…  On a better note, my kiddos are doing some awesome things in my room 🙂  Most of our projects lately have been looooong, drawn out projects, so I have started some quicker, yet still fun projects this week.  By grade level….

K: Starting our form/three-dimensional art/sculpture projects.  We made pinch pots using clay, which the kids loved, as always.  I go through the process step by step with them, starting with making a ball {or sphere, if you want to add some additional vocab}, then giving a “thumbs-up” to put the ball on.  We “plop” our clay sphere on our thumb, making sure it is on well enough that it can stay on its own.  I then show them how to use “alligator mouths” {thumb and fingers flat to make a mouth} to pinch the walls of the clay bowl as we turn them.  They are always amazed at how the hole where the thumb was gets bigger and bigger as they do this.  For the most part, these turned out great as always…although I always have a few that either stop too soon or keep going until their clay is falling apart.  Either way, they all turn out special for these little ones!

After our clay fun, we discussed relief sculptures and how they were different because they had a flat side, but stuck out so they weren’t completely flat like a painting or drawing.  We are currently working on creating relief sculptures with cardboard and found objects.  The kids have loved this so far too, as they have gotten to glue tons of fun things to their cardboard.  Eventually we will be doing more with these but I will leave that for a future post 🙂

This project is helping me get rid of lots of *junk* in my room too!

I don’t have any pics of my first graders work so far, but I just introduced Van Gogh’s art, and we focused on his style of creating a rough look using lots of short, thick marks.  I will update soon!

Second grade has FINALLY finished their Matisse-inspired interiors with goldfish and I love, love, love them!  We will soon be starting a project about tints and shades.

Third grade has been learning about the proportions of the body, as well as how to show a body in motion.  We discussed how you can compare sizes of things to make something the correct size in relation to each other.  We made very basic body shapes, then arranged them on a paper to look like they were in action.  We talked about ways artists can make things look like they are moving in a work of art.  They absolutely floored me with some of their answers, they are so brilliant!  Their answers varied from motion lines and dust clouds behind something to the wind blowing someone’s hair.  The three ideas we focused on were creating diagonal lines with body parts, using motion lines, and creating “dust clouds” for a little added fun 🙂  These are quite lovely in my opinion!

Obviously, they were allowed to use any colors to color in their person–I love the creative results!

I have re-introduced my fourth graders to printmaking this week.  They have done some styrofoam prints in the past, so they had a little bit of background information.  I had a bunch of plexiglass plates that I had bought when I was teaching part time at a high school so I decided we would bust them out and make some monoprints.  I was SO excited when I asked the kids what the word “monoprint” might mean in one of the classes and one of the students raised their hand and said that since they knew that “mono” meant one {from the word monochromatic}, that they thought it meant “one print.”  I think I was grinning from ear to ear!  So yes, we are creating one print at a time, using paint at the moment, but possibly moving on to printing ink before too long.  The students created registration plates:

And are now “inking” {painting} their plexiglass and printing!  Such fun 🙂

Aaannnnd finally, my fifth graders have started some Japanese Notan designs.  I really like this project (so far…this is my first time doing it) because it incorporates soooo many ideas: line, shape, symmetry, balance, harmony, value, composition, etc…  The kids seem to be enjoying it so far too, especially after their weeks and weeks of work on portraits.

Woohoo!  Lots of fun!

Also, on a very important side note, spring break is RIGHT around the corner!  🙂 🙂


Design a site like this with WordPress.com
Get started